To purchase a piece of mining equipment is beyond the reach of many new miners. Most miners have resorted to cloud mining which reduced the barrier of entry, is cheaper, and allows them to test the waters.
Beyond cloud mining, mobile phone mining is yet another method of mining we are testing to see how suitable it is to mine cryptocurrencies especially Bitcoin.
With the peculiarities of the Android and iOS operating systems, we shall be considering, first, how the iPhone devices perform under intense mining conditions. Note that mining places huge demands on any systems computing resources.
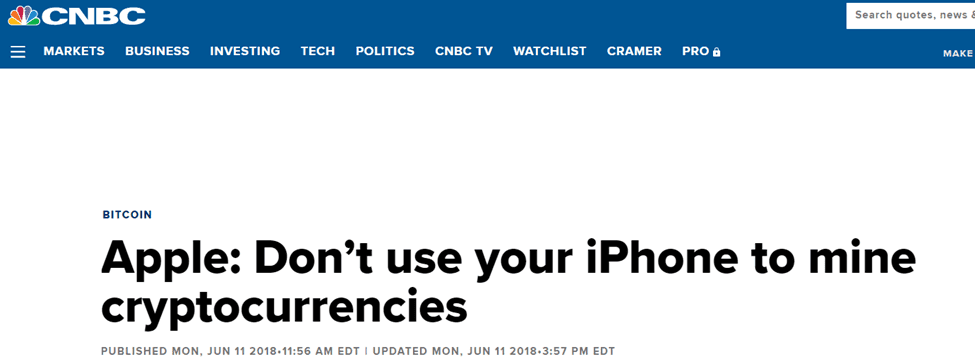
Apple Inc. has discouraged all forms of crypto mining on all iPhone devices as mining puts excessive pressure on its processors, drains the battery, and generates excessive heat. This being said, Apple has forbidden the mining of cryptocurrencies on its iOS devices, this stated in its developer guide.
Before Apple’s statement on the outlaw of the iOS devices for crypto mining, a tool called the MobileMiner invented by Elias Limneos could be used to mine with the iPhone.
Limneos recommends using more recent iOS devices from the iPhone 7, iPhone 8, and iPhone X because they produce better hash rates.
In this article, I will be explaining the Limenous method of Bitcoin mining on your iPhone device using the MobileMiner.

Key Takeaways
• Apple devices no longer support mining of any cryptocurrency as Apple Inc has made it known that doing so would be very harmful to the devices.
• MobileMiner is a software tool that previously (that is before the ban) could be used to mine bitcoin and a few other cryptocurrencies on iPhone devices.
• Mining on a mobile device may be possible but it won’t get you much significant output compared to if you were mining with a PC or mining equipment.
MobileMiner is a CPU miner for ARM64 iOS devices developed by Elias Limneos, a well-known developer. MobileMiner is a fork of Lucasjones cpuminer-multi which was compiled with the ARM64 iOS in mind. MobileMiner can be obtained from GitHub.
What makes MobileMiner unique is that it is easy to set up on your iPhone device. All that is required is to build using the Xcode, get a wallet address, and start mining straight away. Xcode is a complete developer toolset used for developing apps on Mac.
SEE ALSO: How To Mine Shiba Inu On Android And PC
SEE ALSO: 10 Best Bitcoin Mining Software for Windows, Mac and Linux
SEE ALSO: How to Mine Ripple XRP on Android and PC
Steps on How to Mine Bitcoin on iPhone
The first thing you need to do is to register and complete your iPhone setup procedures.
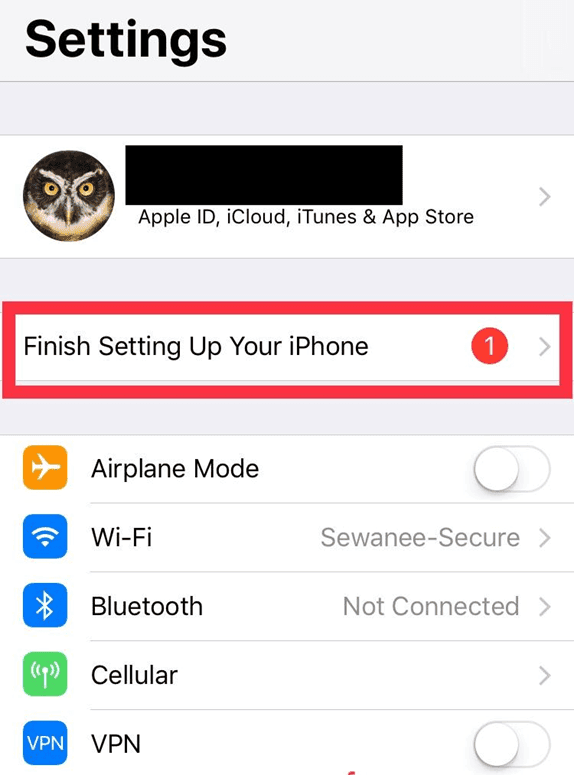
· After you’ve registered and completed the iPhone setup procedures, navigate to the Applications tab, where you’ll find MobileMiner listed after you must have downloaded it from the web. Click on it and allow it to run and install.
Bear in mind that you will need a crypto wallet and a mining pool.
Depending on the type of crypto you’re mining; you’ll need to select the right wallet and mining pool.
In this situation, our selected cryptocurrency is Bitcoin, hence you’ll need to create a Bitcoin wallet.
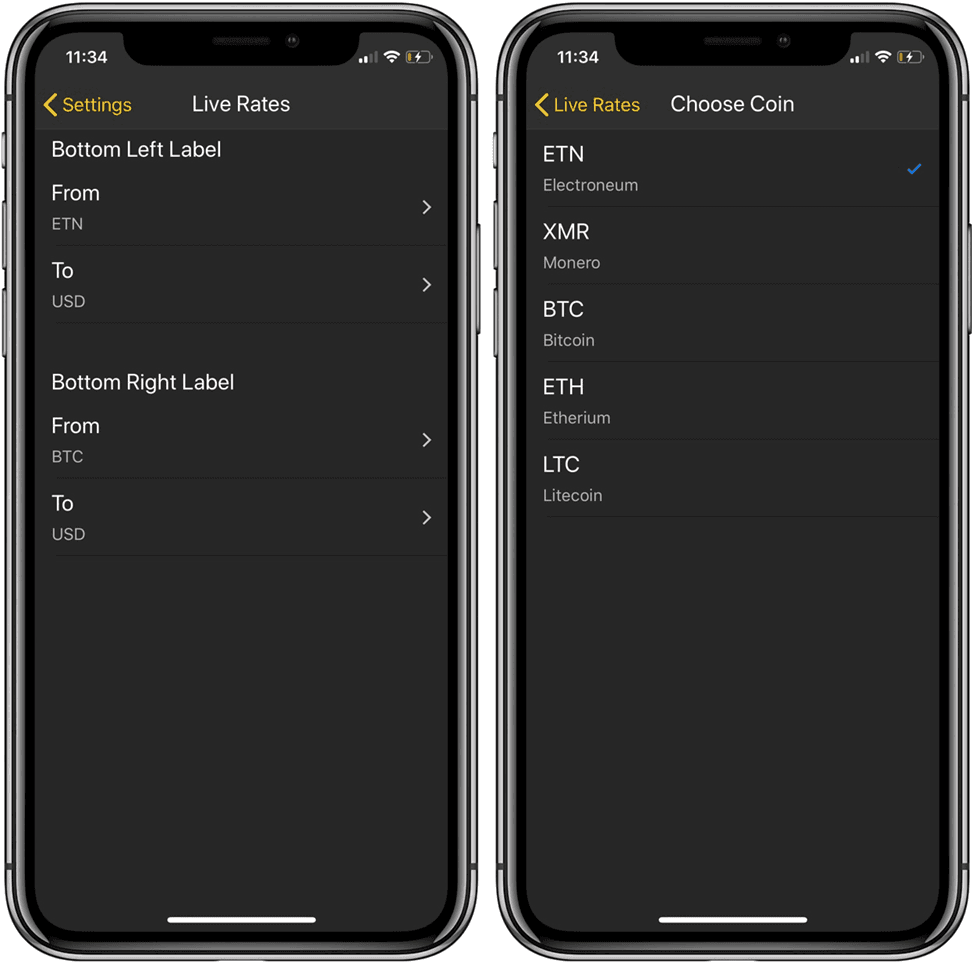
Once your wallet is operational, you can use then use the MobileMiner that you just downloaded to your device.
Once you have clicked on MobileMiner, it will start up and a screen will pop up.
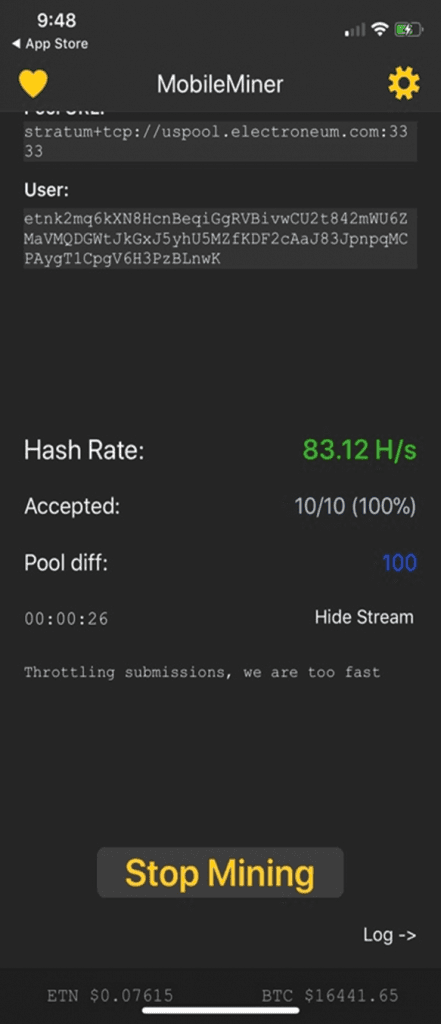
Do not leave the app’s current default setup. If you do, you will be mining for the app’s creator rather than yourself.
To access the settings page, click the gear symbol in the upper right corner of the screen. When you’re in Settings, select “Edit Configurations.” Here, you’ll want to change the default settings to include your credentials.
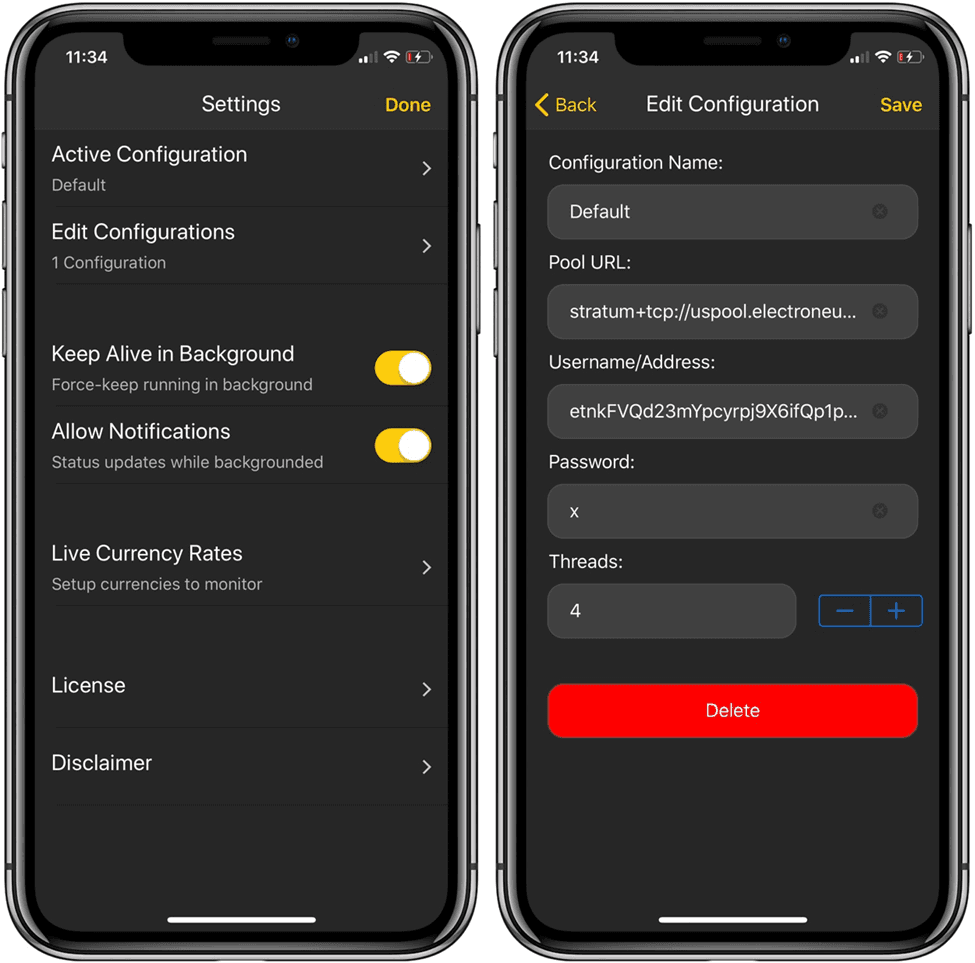
Please do the following to make this procedure easier: Once you’ve selected “Edit Configurations,” select “Default.” The only thing you’ll need to update is the “Username/Address” column.
Delete the previous address and replace it with the address from your Bitcoin wallet. You can copy your public address and paste it into this area in the app by clicking the copy button next to it.
Your wallet address will be a large string of various random characters.
The only other item you might want to change after entering that address in the Username section is the number of threads.
The lesser the number of threads, the less CPU power it will need on your iPhone. You can choose to keep just one number of threads if you wish to surf the web while mining.
After that, click the “Save button” at the top right of the screen. Then return to Settings.
Check that the “Keep-Alive in Background” option is set on (the orange button on the right). Even if your phone is locked, your app will continue to mine for you in the background.
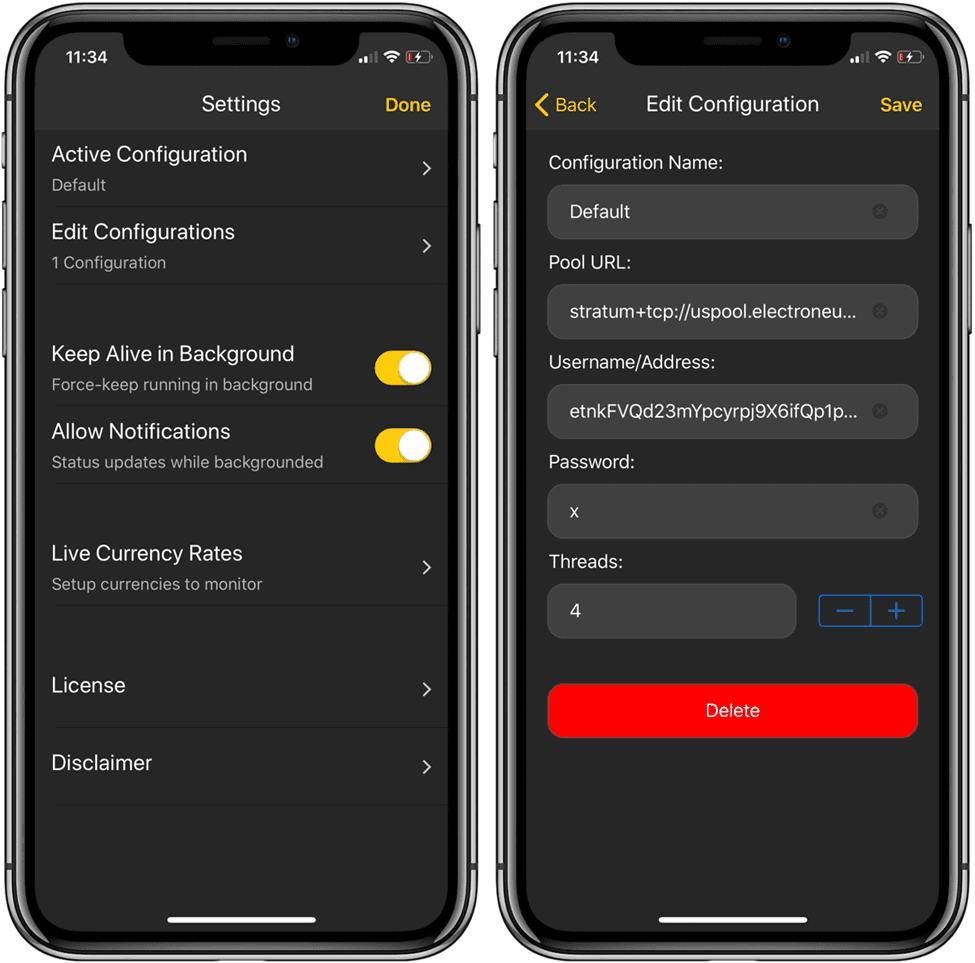
Then press the “Done” button.
That is all as you are now prepared to begin mining. Just tap the “Start Mining” button at the bottom of the screen and your device will begin to mine Bitcoin.
You do not need to worry if you stop mining or if the app stops at some point. All that you have earned from mining are immediately registered for you in the pool.
Also, mining is very tedious; hence it tends to drain mobile batteries very fast, so you might want to keep your phone plugged into power if you want to mine for a long period.
Final Thoughts
Recent information has shown that mining can indeed be very harmful to iPhone devices. Hence, in order not to take too much of a risk, you could simply mine on a high-end PC or get yourself a piece of mining equipment.
However, you could still check out the MobileMiner software tool if you still insist on mining with your iPhone device.
Read More


