How to Create a Multisig Wallet on Electrum?
Multisig wallets are digital wallets that require two or more signatures to approve a payment transaction.
Multisig wallets are usually soft wallets but can be linked or fused into cold wallets like the Ledger and Trezor products for an added layer of security.
Electrum desktop wallets support Bitcoin only. So if you want to store other cryptocurrencies asides Bitcoin, then may consider other wallets.
Creating a multisig wallet is straightforward, but I’ll use the Electrum online wallet for this illustration. However, Electrum is well known and has proven to be safe for multi-signature purposes.
How to Set up a Multsig Wallet on Electrum
Step 1: Download the Electrum.exe file
If you don’t have an Electrum wallet already installed on your device, I’ll advise you to head over to their official website and download the Electrum 4.1.4…exe file from their official website.
The version may change depending on how frequently Electrum releases a new patch to the application.
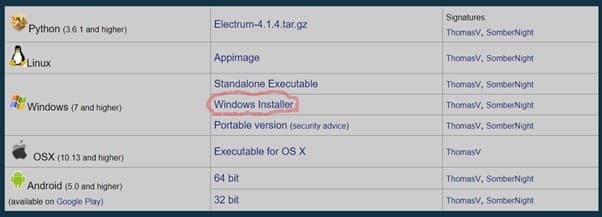
In this case, I’ll use Windows (7 and higher) and download it. The storage space required on your system is 89.69MB.
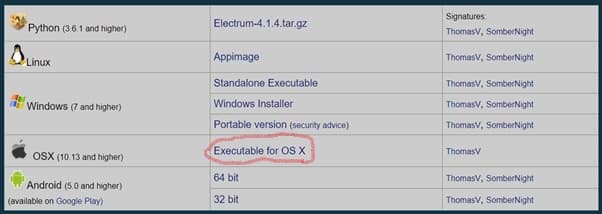
For Mac OS 10.13 and higher, choose the Executable for OS X option and download.
This step will take less than a minute to create the uninstaller on your device and install all required files including shortcuts on your Program drive.
You should get a prompt notification that the file was successfully installed.
SEE ALSO: Are Multi-sig Wallets Truly Safe?
Step 2: Create a New Multi-Signature Wallet
After running the Electrum installation wizard, the next step is to create a wallet.
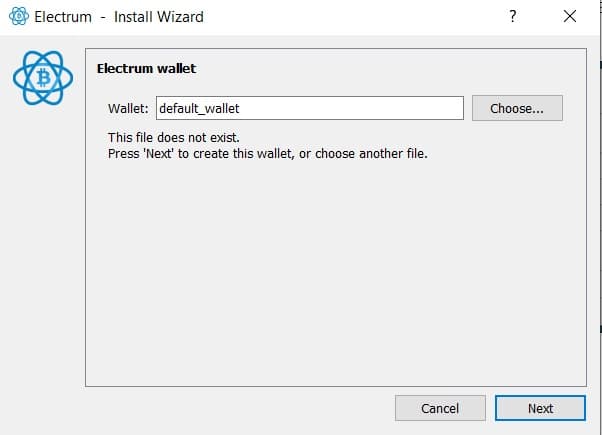
You can always change the name of the default_wallet to any name you want and click next.
The next page will request that you choose the type of wallet you wish to create. The wizard sets it on Standard wallet by default, so you should choose a multi-signature wallet.
Let me explain what the other three wallet options are and what to expect.
• Standard wallet – As the name implies, this wallet option functions like the regular wallet requiring that you create one new seed phrase or restore a wallet using an existing seed.
You can also use a master key or connect a hardware device with the Standard wallet option.
• Wallet with two-factor Authentication – The tw0-factor authentication is a service offered by TrustedCoin. It uses the multi-signature wallet where you own 2 of 3 keys.
The third key is stored in a remote server that signs transactions on your behalf.
This wallet option attracts a billing charge on each transaction that uses the remote server. Your billing preference can be modified after creating your seed.
You can also withdraw your funds at any time as your funds are not locked with the service. With the two-factor authentication, it’s not recommended to store your seed on your computer but paper.
• Import Bitcoin Address or Private Keys – The wallet option is more like an archive or storage where a list of Bitcoin addresses or private keys can be stored on view-only. WIF keys are typed in Electrum based on script type.
Let’s proceed to the next step in setting up the Multi-signature wallet.
SEE ALSO: 5 Top Reasons Multisig Wallets Outperform Traditional Digital Wallets
Step 3: Choose the Number of Signatures
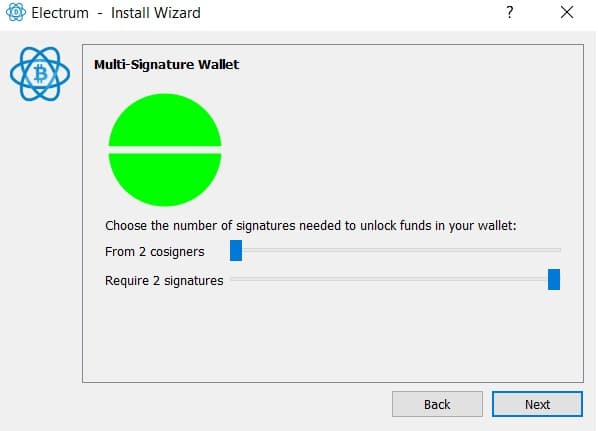
At this point, you will need to choose the number of signatures you’ll require to unlock funds in your wallet.
By default, Electrum provides a minimum of 2 cosigners requiring 2 signatures. This means that 2 persons (Owner & authorizer) must authenticate all transactions.
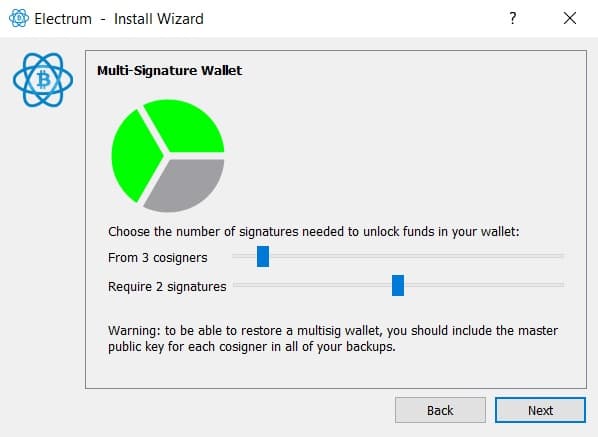
You can increase the number of cosigners’ signatures to your wallet to tighter security.
Although this comes with a warning to ensure you include the master public key for each cosigner in all your backups when you want to restore your multi-signature wallet.
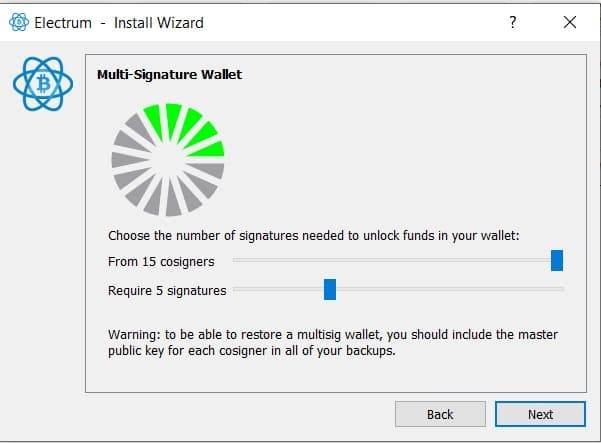
You can create a maximum of 15 cosigners and also increase the number of signatures according to your preference.
But it’s always better to stick to a lower number of signatures to avoid complications later.
Step 4: Create a New Seed
Add a cosigner (1 of 3) which is you by creating a new seed. This step will generate your wallet seed.
Your wallet seed is 12 random words that are unique to your wallet. These words will be required to restore your wallet in case of computer failure.
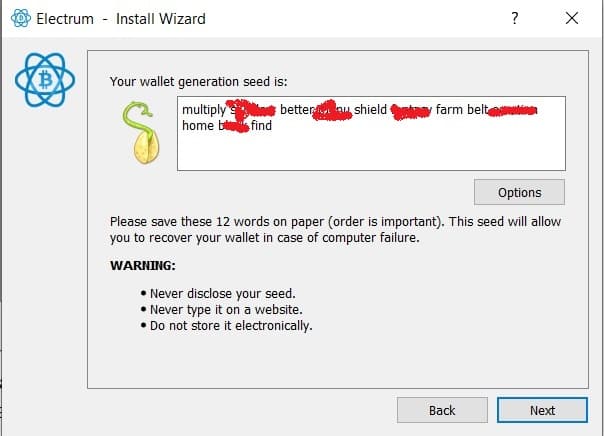
You can also extend the keys with custom words if you prefer that option.
To do that, simply click on the options button to input your preferred 12 unique words.
It’s recommended that your wallet seed is stored on paper and not be disclosed to anyone.
Your key is important, if you lose it, your coins will be lost forever.
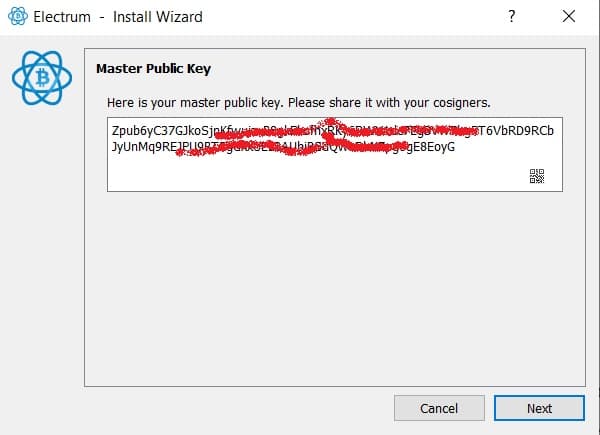
Step 5: Generate Master Public Key
The installation wizard will require that you confirm your keys by inputting them the exact way (It is case sensitive).
Once keyed incorrectly, a Master Public Key (MPK) will be issued, and can share your MPK with your cosigners.
SEE ALSO: Top 11 Best Cardano (ADA) Wallets for Staking & Storage
Step 5: Add a Cosigner (2 of 3)
To include a cosigner, simply enter the Master Public Key (xpub) issued to you. Remember you had already shared this with the cosigner.
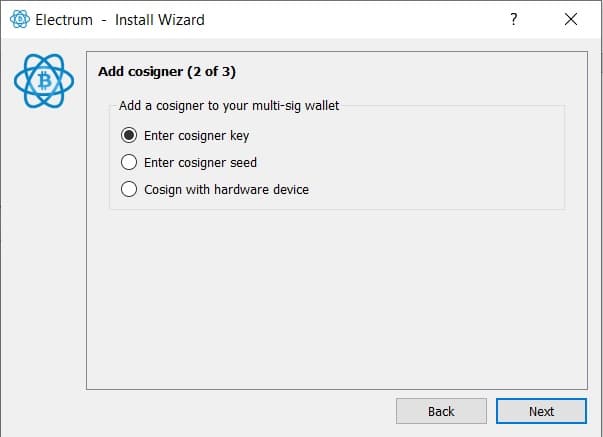
You can also enter their Master key (xprv) if you also want to sign transactions for them.
OR you can enter the cosigner seed if they have one. You will be asked to confirm this step by imputing your seed phrase.
You either type in, upload the MPK, or use the QR Code reader.
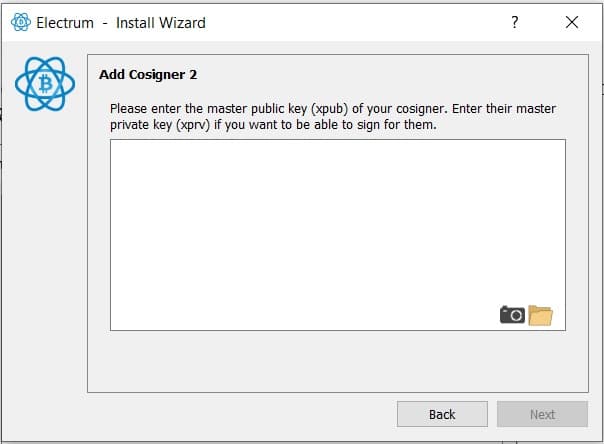
Input the cosigner’s Master Public key and click next.
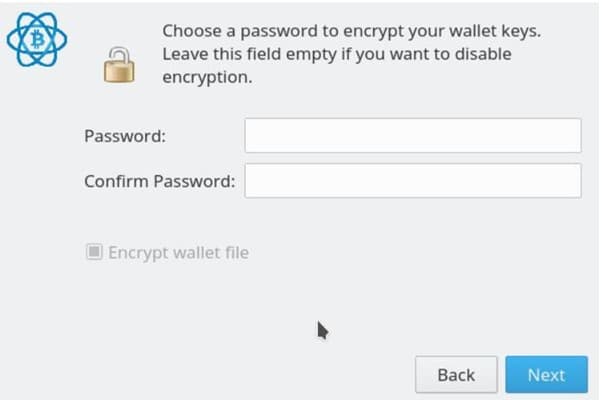
Step 6: Encrypt Wallet Keys (Optional)
You will be asked if you want to encrypt your wallet keys or you can leave black and proceed.
SEE ALSO: 3 Key Things to Look out for When Buying a Hardware Wallet
Step 7: Access Wallet Dashboard
After adding the Master Public Key for your cosigner, the wallet wizard will generate your wallet address in the wallet’s dashboard
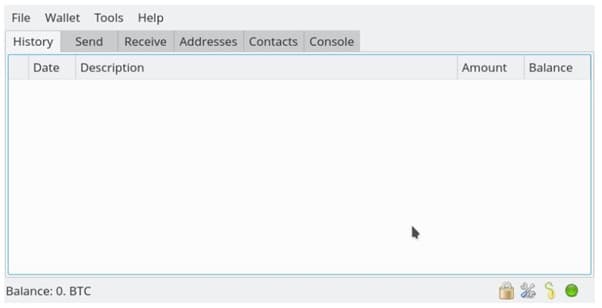
The next step is to toggle the tabs to confirm your records.
First, visit the receive tab copy your receiving address. Send this to your cosigners so they can verify if it’s the same they have.
If it all records tally, then your Electrum wallet was set up correctly. You call can cooperate and authorize transactions
SEE ALSO: How Does a Multi-Signature Wallet Work?
Read More


